The Most Ideal Accessibility Settings for People 65+ – iPhone
TL;DR
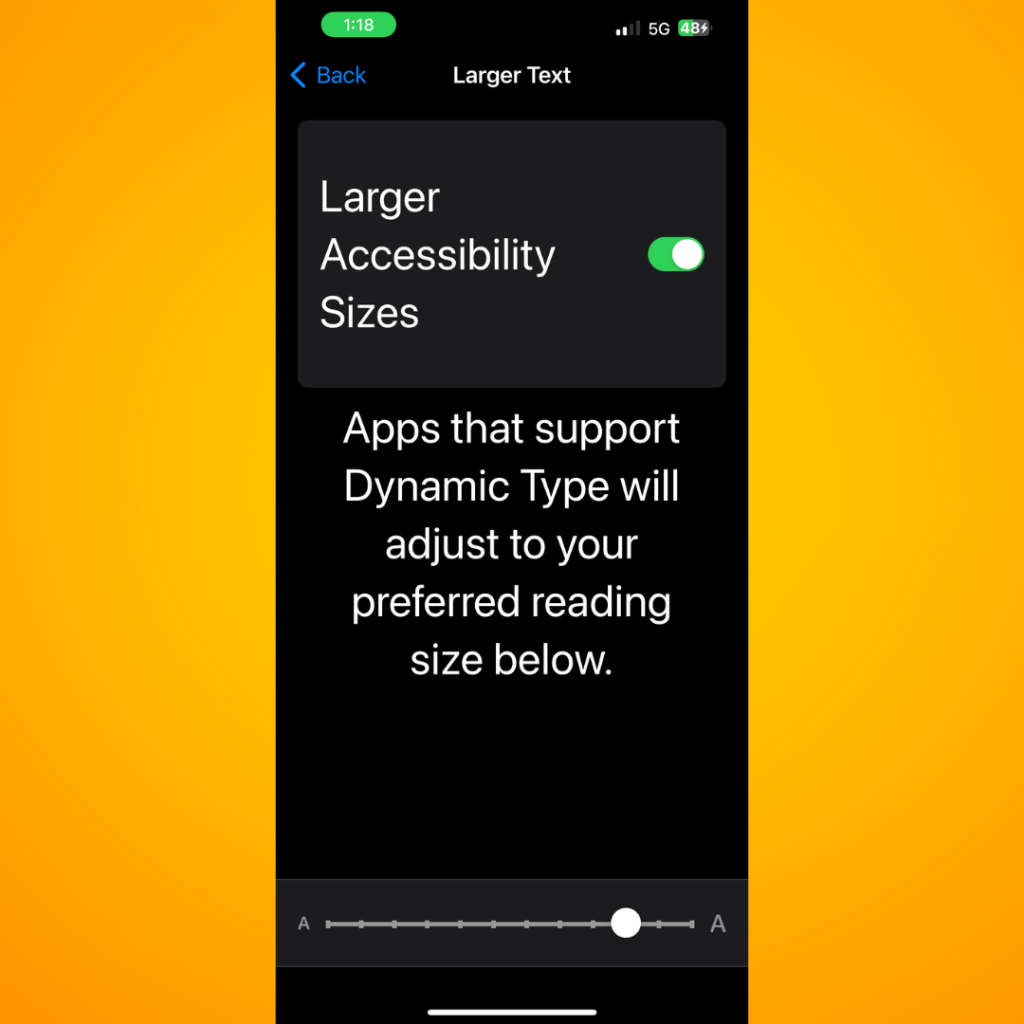
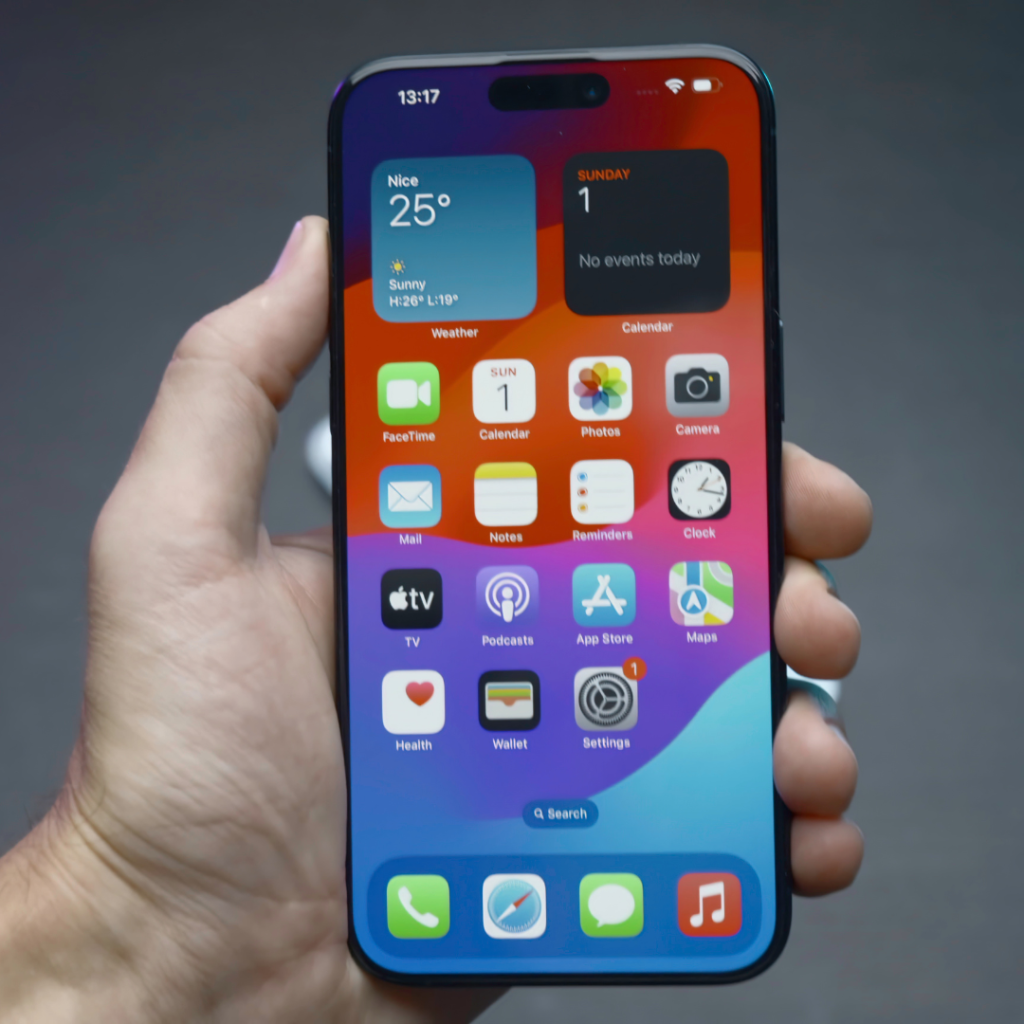
1. Display and Text Size: Settings > Accessibility > Display Text Size > Larger Text > Toggle Larger Accessibility Size > Drag slider at the bottom to adjust
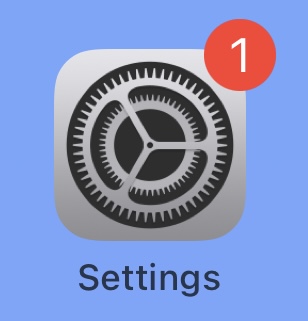
A screenshot showing the main screen of the Settings app on an iPhone, providing access to various device settings.
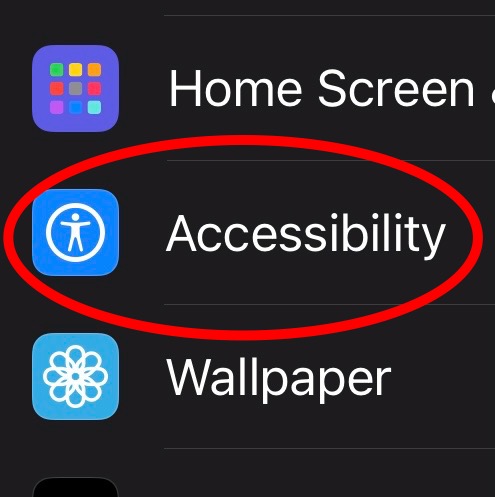
A screenshot highlighting the Accessibility tab in iPhone settings with a red circle, showing where to access various accessibility features.
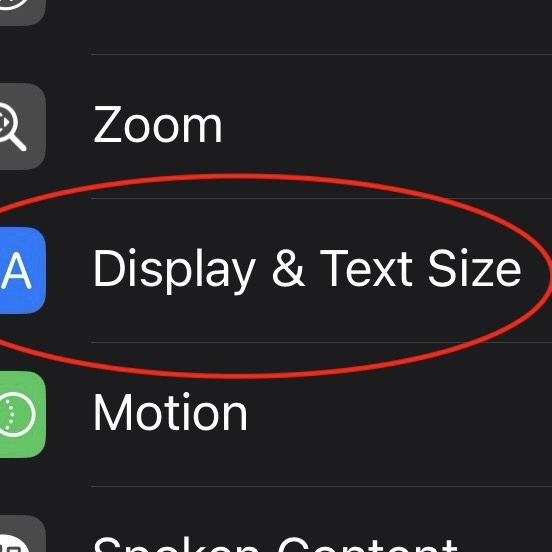
A screenshot highlighting the Display & Text Size tab in iPhone settings with a red circle, showing where to access display and text adjustments.
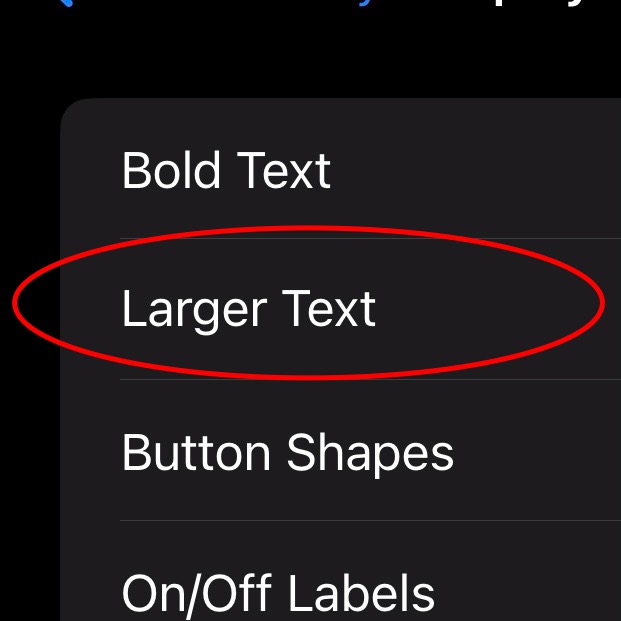
A screenshot highlighting the Larger Text tab in iPhone settings with a red circle, showing where to access text size adjustments.
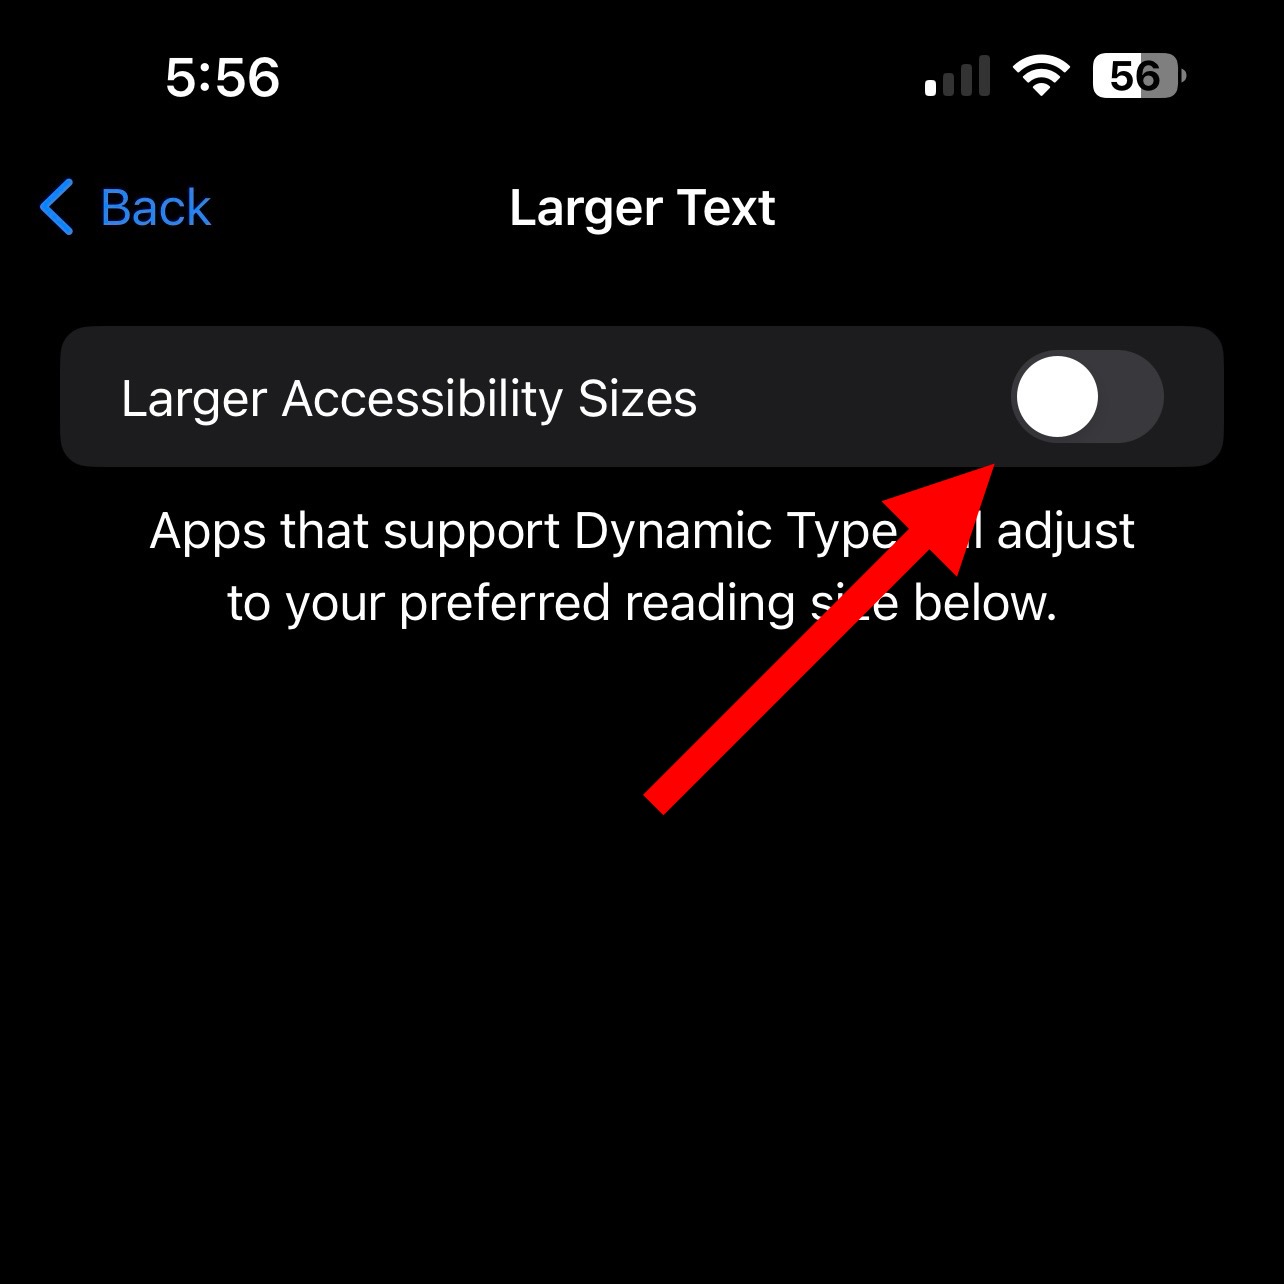
A screenshot of the toggle button for Large Text in iPhone settings, showing how to enable larger text for better readability.
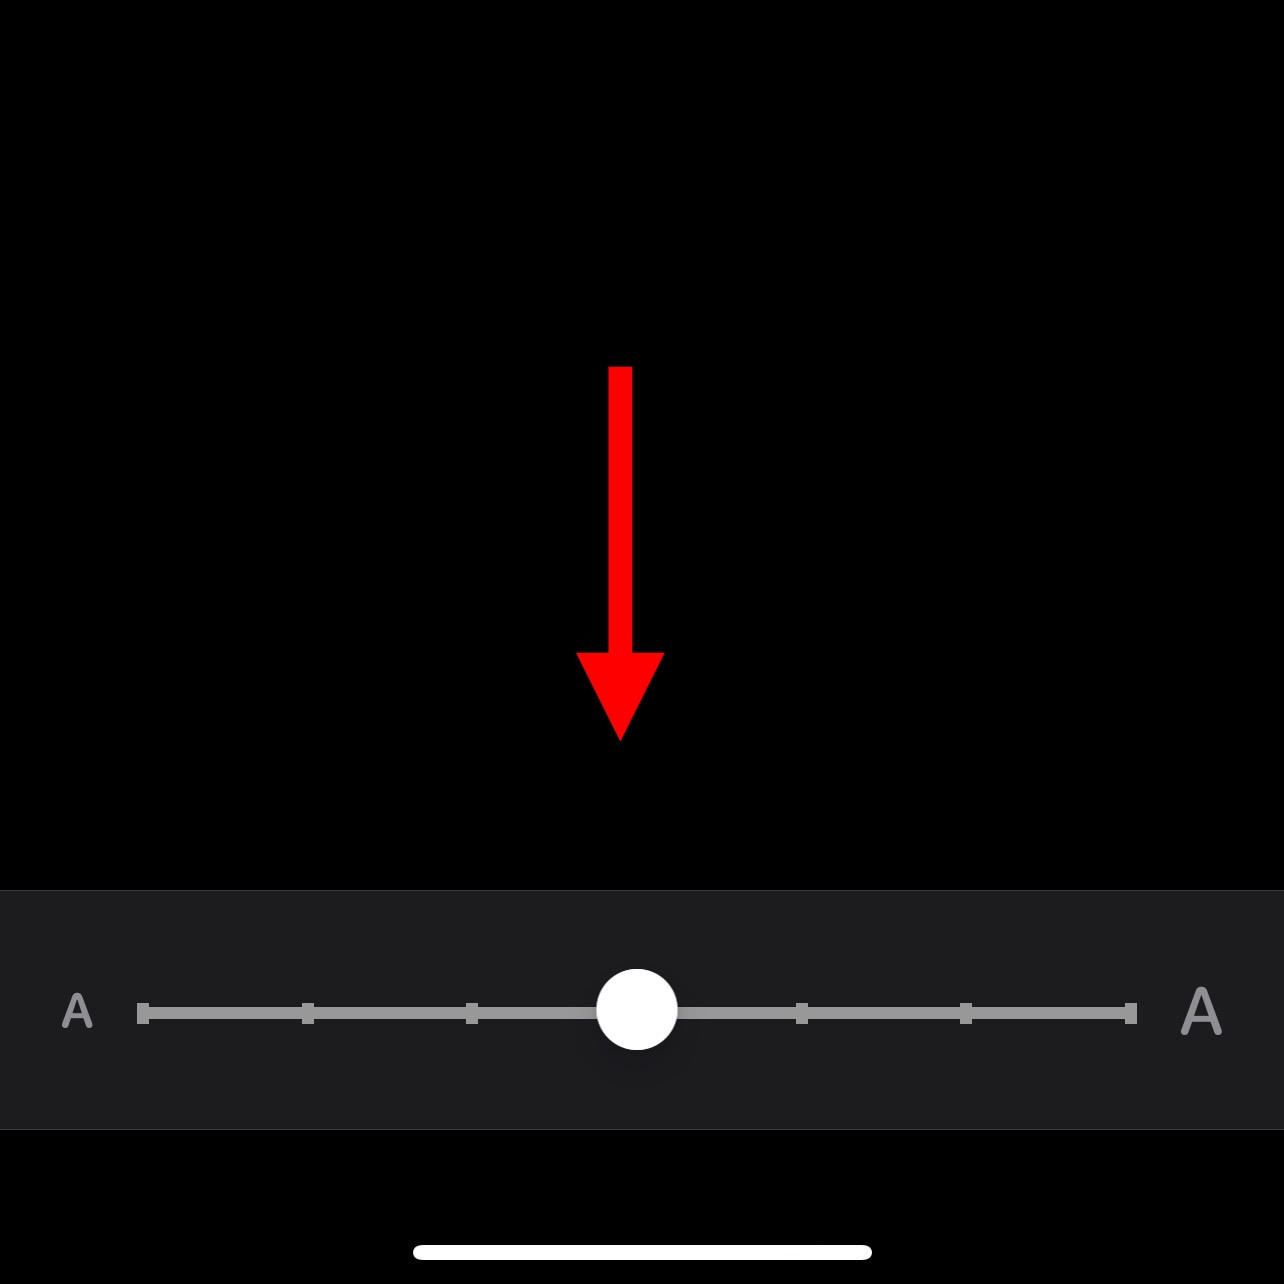
A screenshot of the text size slider in iPhone settings, with a red arrow pointing to it, showing how to adjust the text size for better readability.
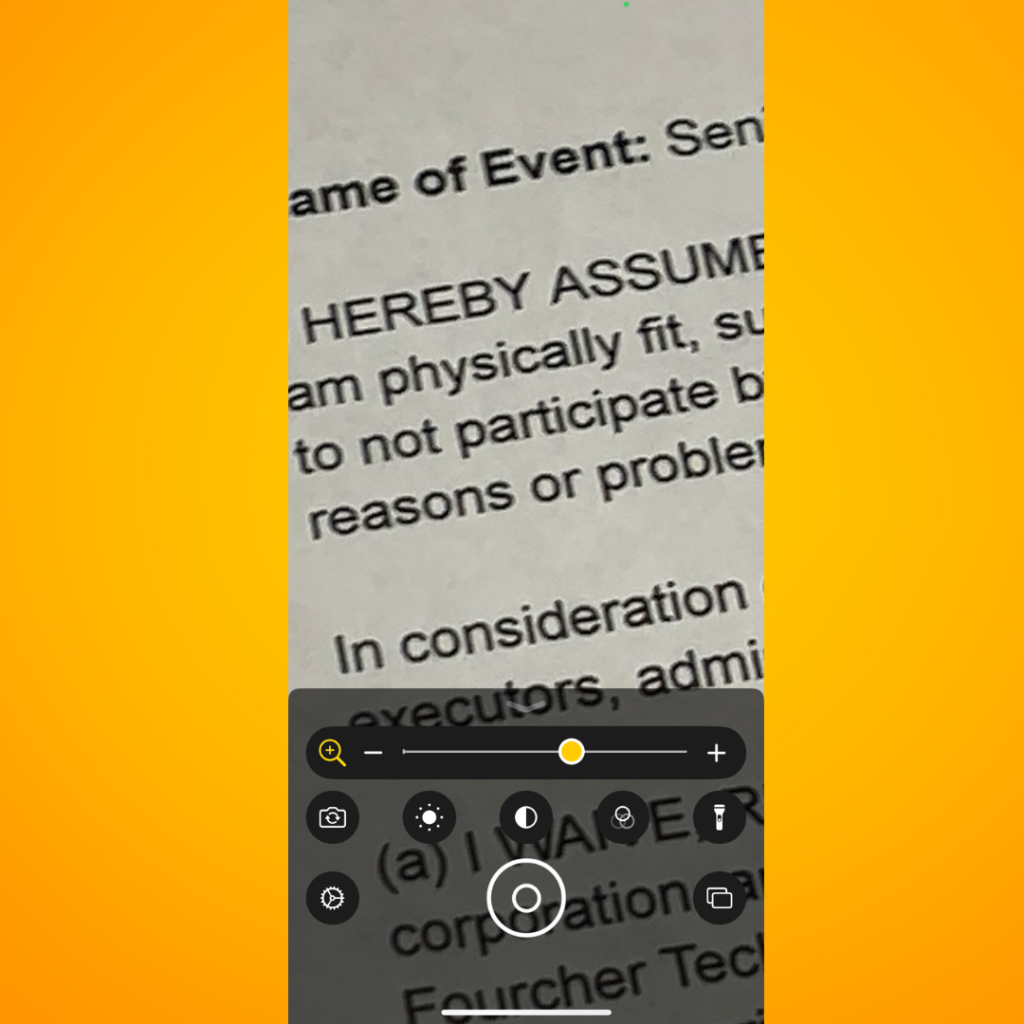
2. Magnifier: Settings > Control Center > Press Green Button next to Magnifier > Drag down from top right corner to open up Control Center > Click magnifier icon with “+” sign
A screenshot showing the main screen of the Settings app on an iPhone, providing access to various device settings.
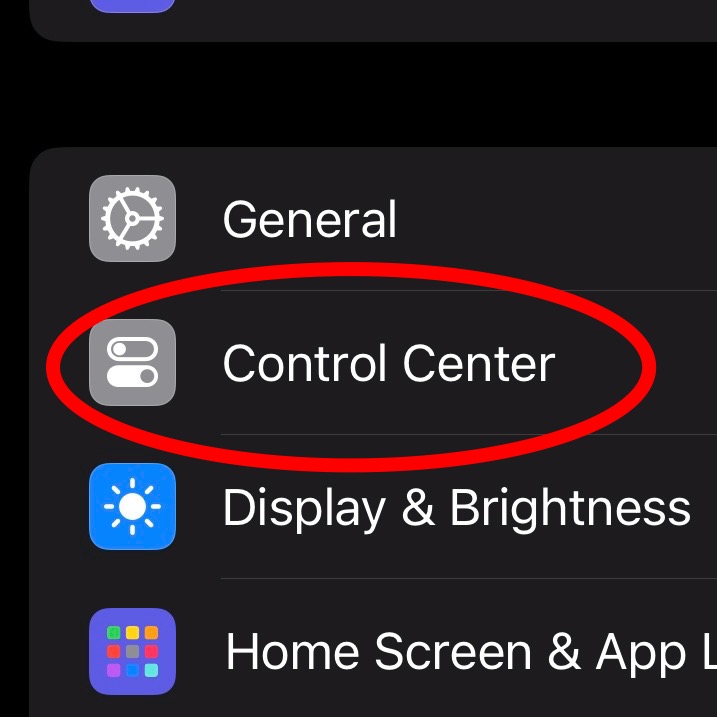
A screenshot highlighting the Control Center tab in iPhone settings with a red circle, indicating where to access Control Center settings.
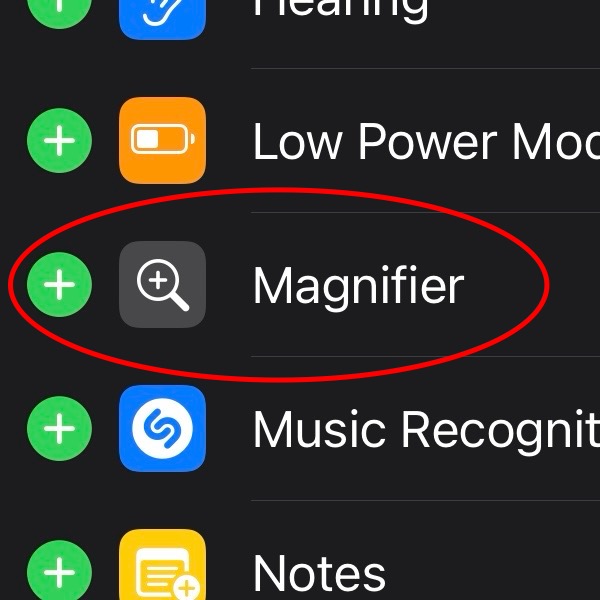
A screenshot of the Control Center settings on an iPhone, highlighting the Magnifier tab where users can add the Magnifier to the Control Center.
A screenshot showing an arrow pointing to the top right corner of an iPhone, demonstrating where to swipe down to open the Control Center
A screenshot of the Control Center on an iPhone, with a red arrow pointing to the magnifying glass icon, showing where to access the Magnifier feature.
A screenshot showing the main screen of the Settings app on an iPhone, providing access to various device settings.
A screenshot highlighting the Accessibility tab in iPhone settings with a red circle, showing where to access various accessibility features.
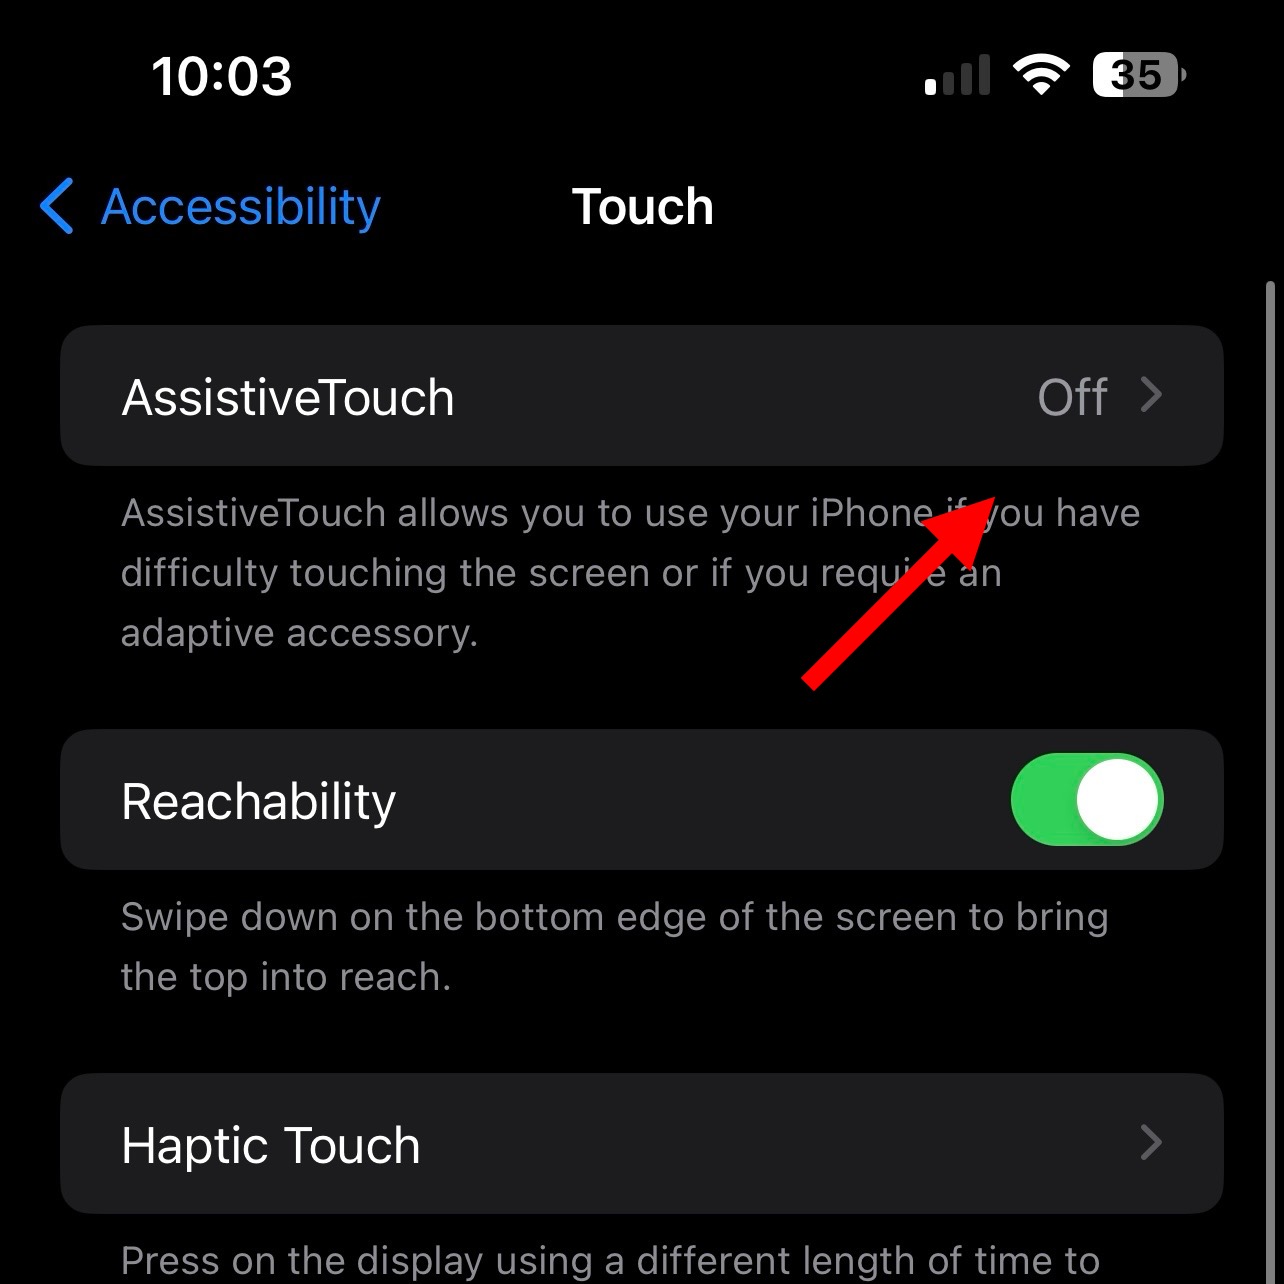
A screenshot of the AssistiveTouch settings on an iPhone, with an arrow pointing to the On/Off toggle to enable the feature.
5. Setting Up Emergency SOS and Medical ID:
Emergency SOS: Settings > Emergency SOS > Toggle Call with Hold and Release
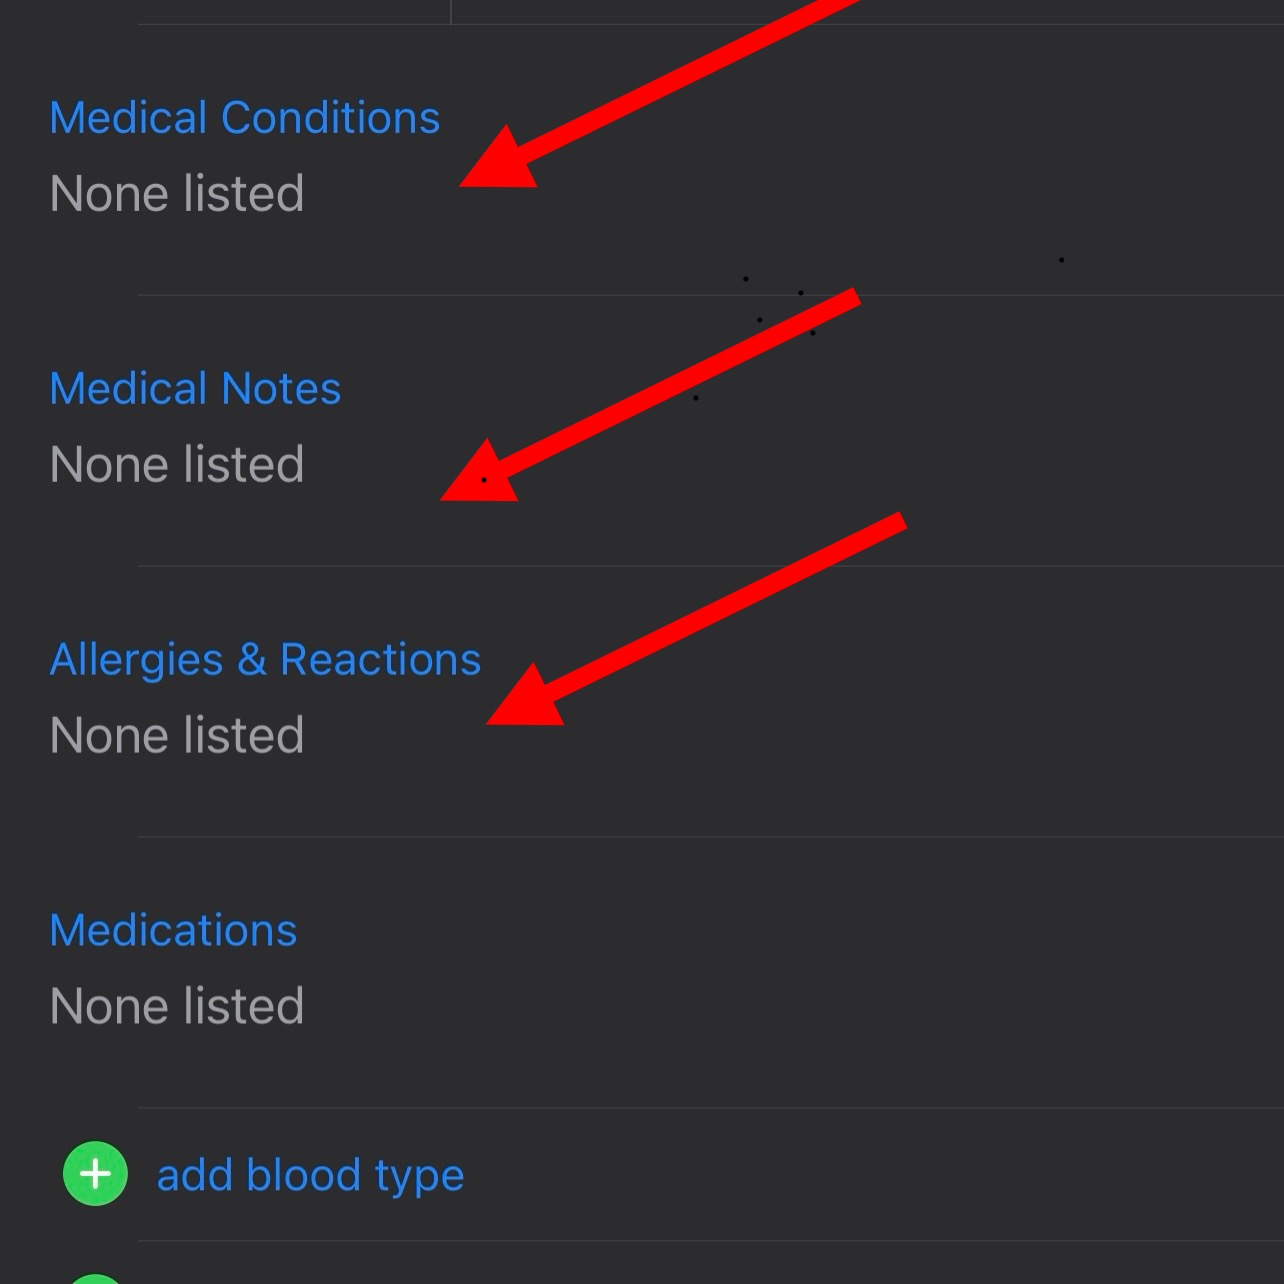
Medical ID: Open “Health” App > Click Profile in top right hand corner > Medical Id > Click Get Started > Fill out information
A screenshot showing the main screen of the Settings app on an iPhone, providing access to various device settings.
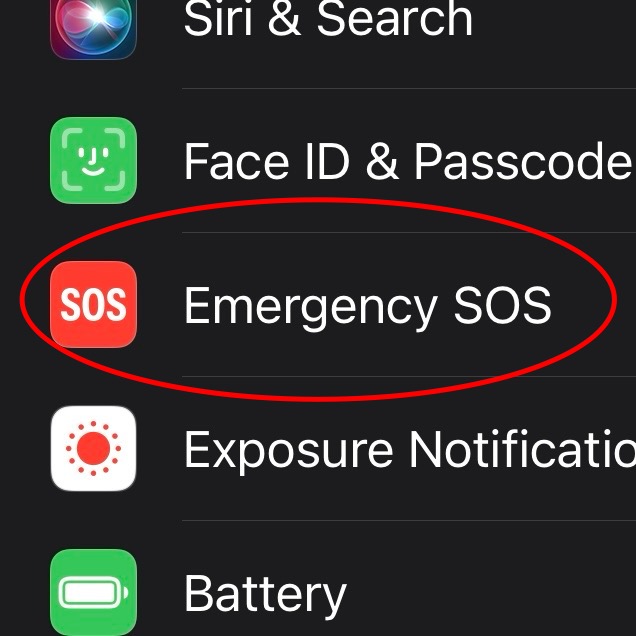
A screenshot highlighting the Emergency SOS tab on an iPhone with a red circle, indicating where to access Emergency SOS settings.
A screenshot of the Emergency SOS settings on an iPhone, with a red arrow pointing to the toggle button to enable the feature.
A picture of an iPhone screen showing the Health app interface, highlighting various health tracking features.
A screenshot of the Health app on an iPhone, with a red arrow pointing to the profile icon, showing users where to tap to access their profile.
A screenshot highlighting the Medical ID tab on an iPhone with a red circle, showing where to tap to access Medical ID settings.
A screenshot of the Medical ID setup on an iPhone, showing arrows pointing to each field that needs to be filled out for emergency information.
A screenshot showing an arrow pointing to the top right corner of an iPhone, demonstrating where to swipe down to open the Control Center
Introduction
Accessibility settings on the iPhone are crucial for making the device usable for seniors. These settings ensure that individuals with visual, auditory, or dexterity challenges can still fully utilize their smartphones.
This article will guide you through the most ideal accessibility settings for people aged 65+ on an iPhone. We will cover how to find these settings, why they are important, and step-by-step instructions on how to set them up.
Where to Get to Accessibility Settings
A screenshot showing the main screen of the Settings app on an iPhone, providing access to various device settings.
A screenshot highlighting the Accessibility tab in iPhone settings with a red circle, showing where to access various accessibility features.
Accessibility settings can be found in the Settings app on your iPhone. Here’s how to locate them:
Open the Settings app.
Scroll down and tap on Accessibility.
Explore the different categories such as Vision, Physical and Motor, Hearing, and General.
Top 5 Ideal Accessibility Settings for 65+
1. Display & Text Size Adjustments
A screenshot demonstrating the Display Larger Text feature on an iPhone, enhancing readability for users
What is it?
Display & Text Size adjustments allow users to increase the text size, make text bold, adjust the contrast, and reduce transparency, among other options.
Why is it important?
Compared to features like Voice Control or Siri, adjusting the text size directly impacts daily use for reading messages, browsing the web, and using apps, making it a primary need.
How to set it up?
A screenshot showing the main screen of the Settings app on an iPhone, providing access to various device settings.
A screenshot highlighting the Accessibility tab in iPhone settings with a red circle, showing where to access various accessibility features.
A screenshot highlighting the Display & Text Size tab in iPhone settings with a red circle, showing where to access display and text adjustments.
A screenshot highlighting the Larger Text tab in iPhone settings with a red circle, showing where to access text size adjustments.
A screenshot of the toggle button for Large Text in iPhone settings, showing how to enable larger text for better readability.
A screenshot of the text size slider in iPhone settings, with a red arrow pointing to it, showing how to adjust the text size for better readability.
Go to Settings > Accessibility > Display & Text Size.
Adjust the Text Size slider to increase or decrease the text size.
Turn on Bold Text for thicker and darker text.
Explore other options like Increase Contrast and Reduce Transparency for better visibility.
Check out Apple’s Display & Text Size guides here.
2. Magnifier
What is it?
The Magnifier feature turns your iPhone into a magnifying glass, allowing you to zoom in on small text or objects. This is particularly useful for reading fine print on physical documents, labels, or menus.
Why is it important?
While features like Live Listen and Speak Screen are helpful, the Magnifier offers a versatile tool for many daily situations, such as reading small print on physical objects and menus, which are common tasks for seniors.
How to set it up?
A screenshot showing the main screen of the Settings app on an iPhone, providing access to various device settings.
A screenshot highlighting the Control Center tab in iPhone settings with a red circle, indicating where to access Control Center settings.
A screenshot of the Control Center settings on an iPhone, highlighting the Magnifier tab where users can add the Magnifier to the Control Center.
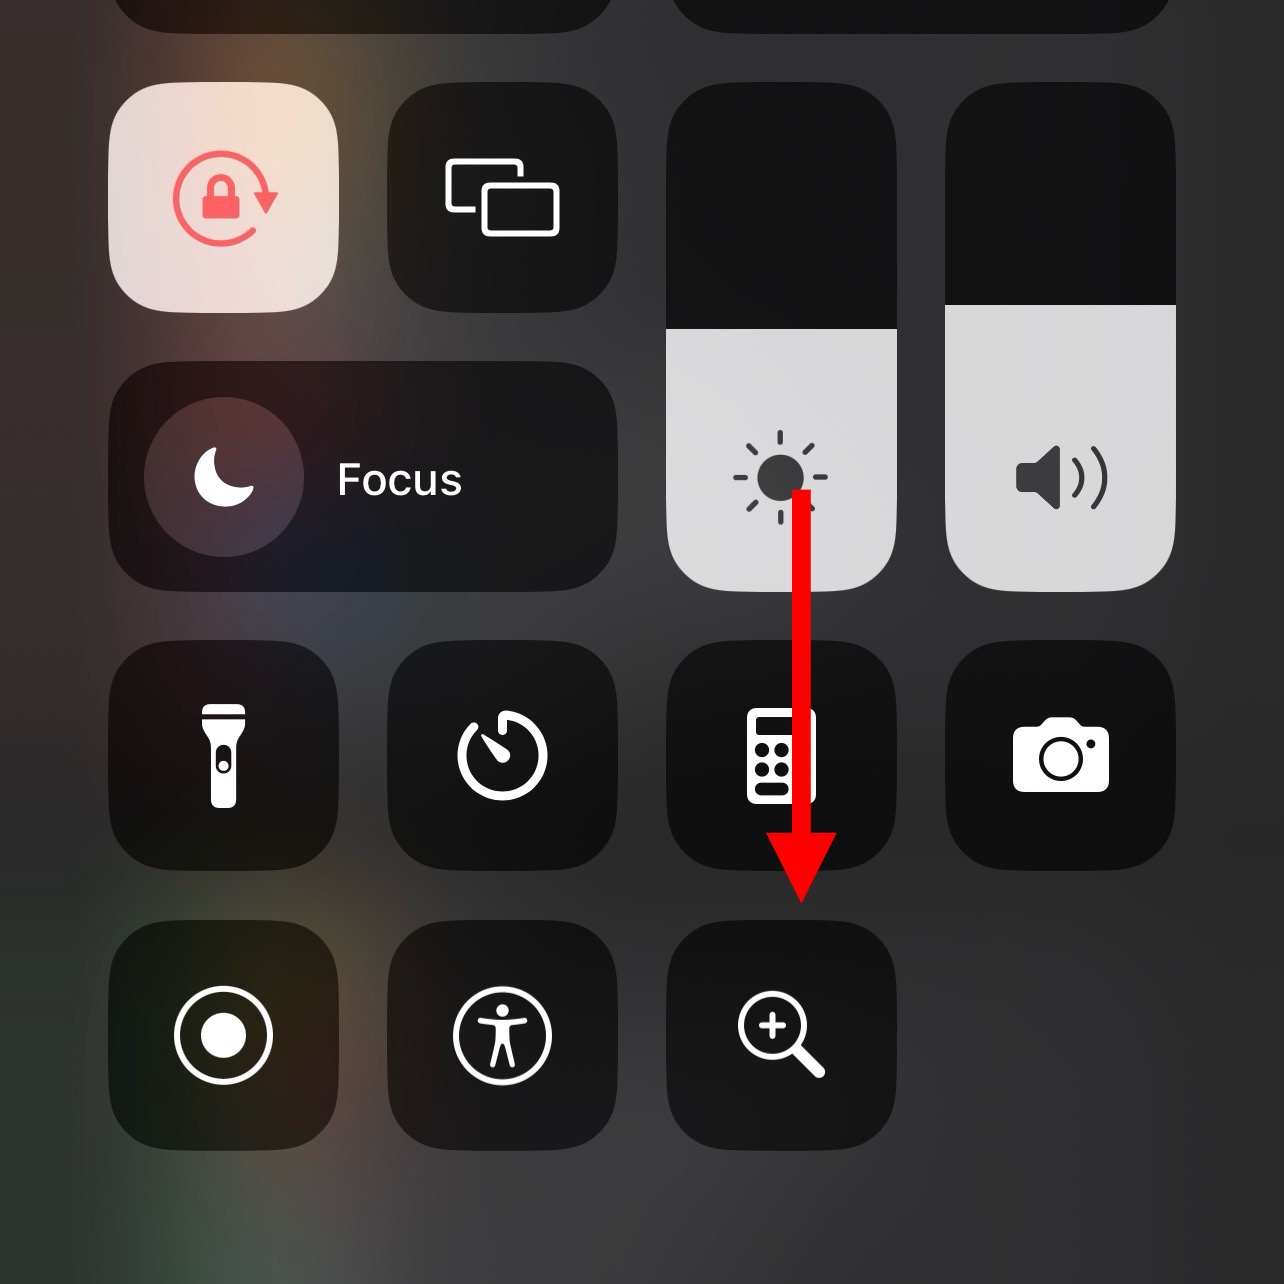
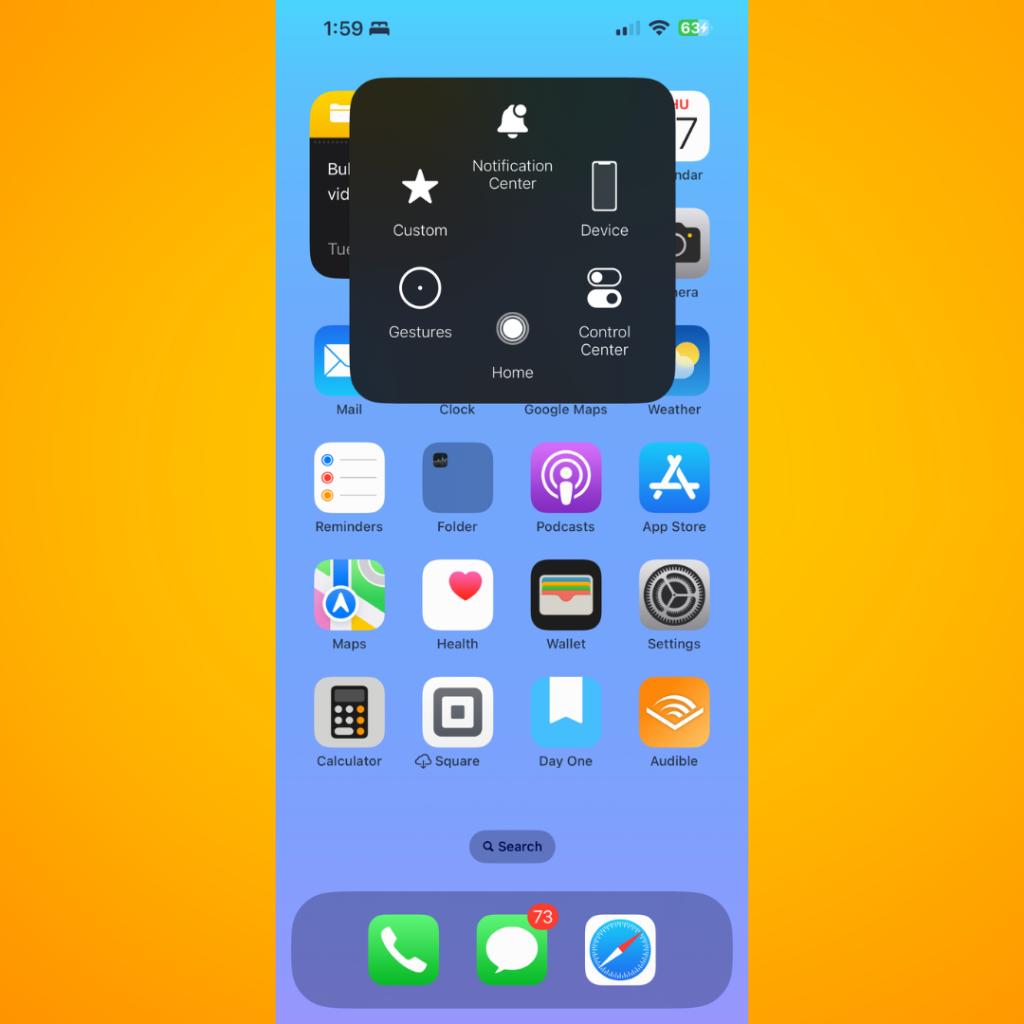
A screenshot showing an arrow pointing to the top right corner of an iPhone, demonstrating where to swipe down to open the Control Center
A screenshot of the Control Center on an iPhone, with a red arrow pointing to the magnifying glass icon, showing where to access the Magnifier feature.
Go to Settings > Control Center > Magnifier.
Add the Magnifier to the control center.
To use the Magnifier, swipe down on the top right hand of your phone and click on the magnifying glass icon.
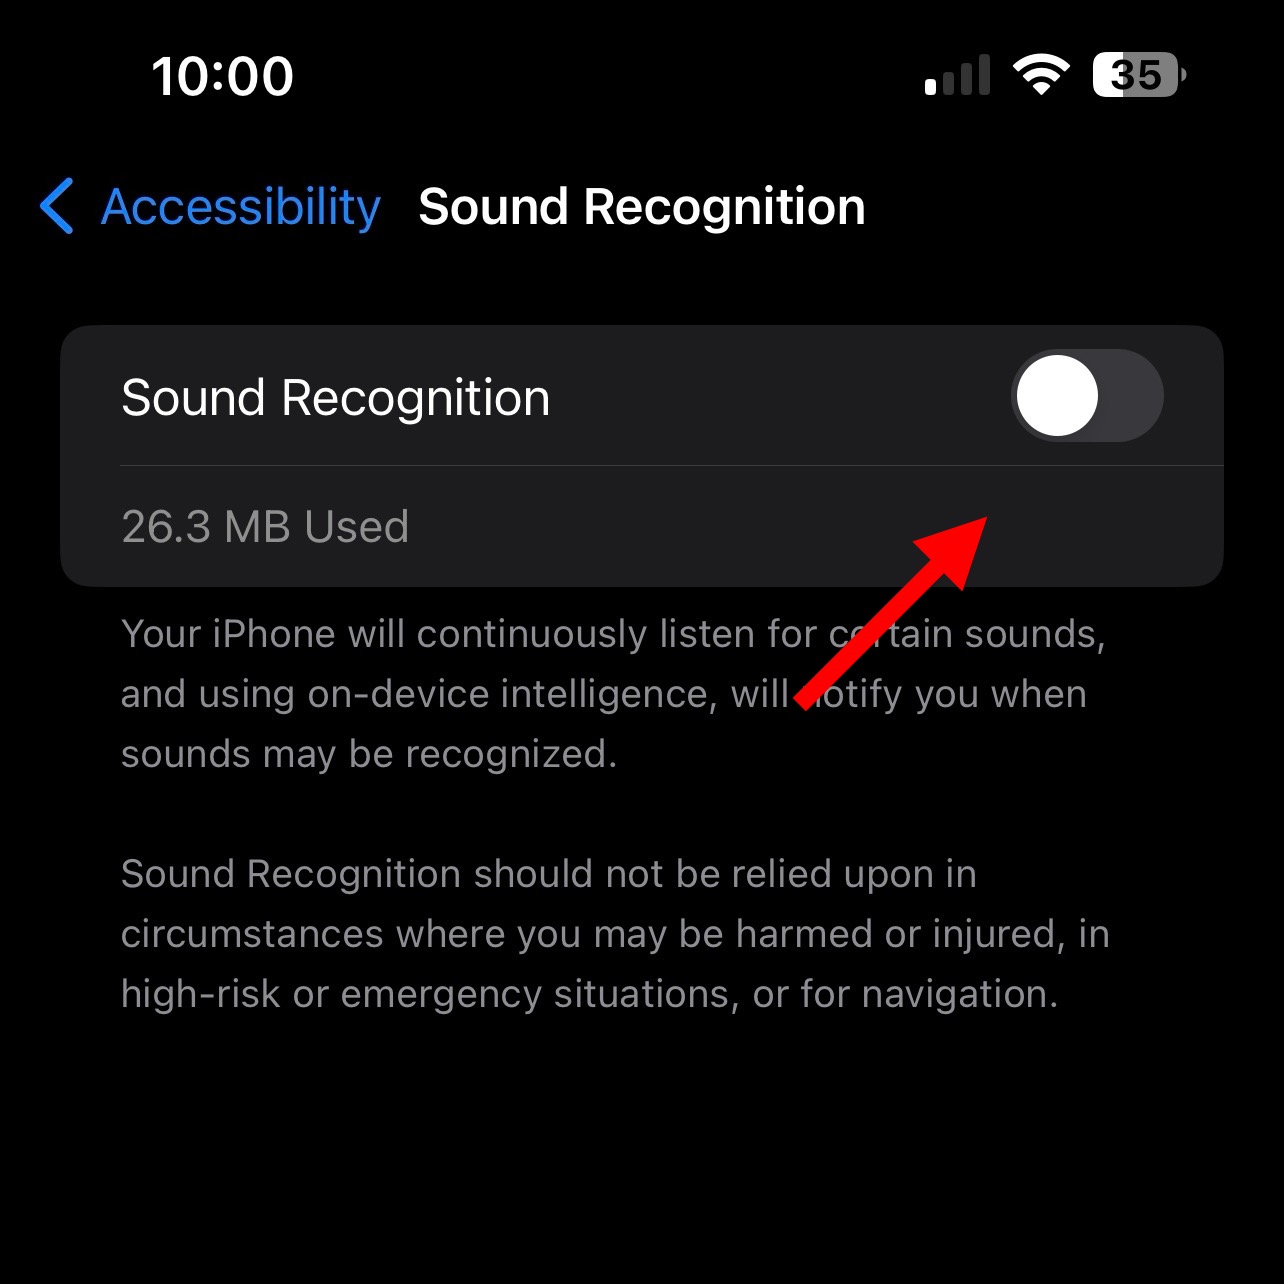
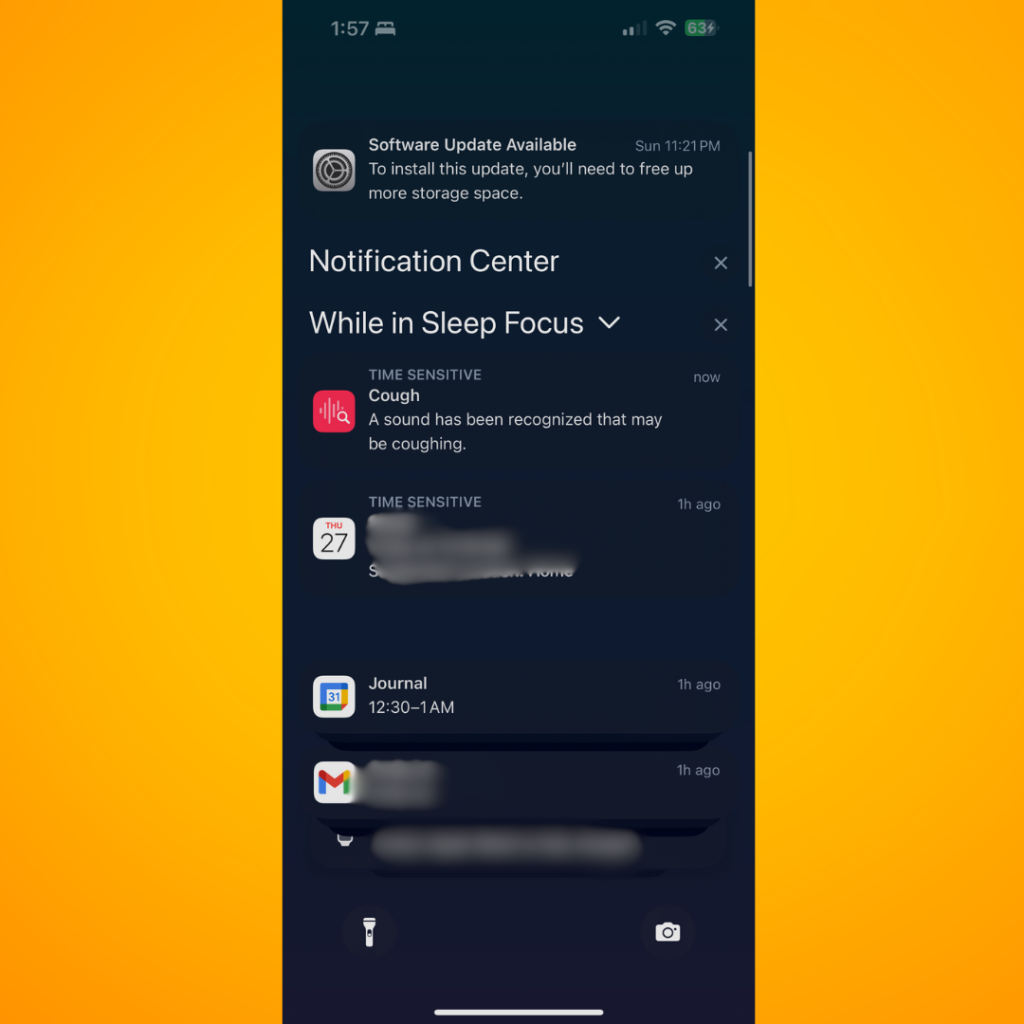
Sound Recognition alerts you to important sounds in your environment, such as fire alarms, doorbells, and crying babies. Your iPhone will notify you when it detects these sounds.
Why is it important?
Compared to Voice Control and Siri, which are convenient, Sound Recognition addresses safety concerns by ensuring users are alerted to critical sounds they might otherwise miss, making it more crucial.
How to set it up?
A screenshot showing the main screen of the Settings app on an iPhone, providing access to various device settings.
A screenshot highlighting the Accessibility tab in iPhone settings with a red circle, showing where to access various accessibility features.
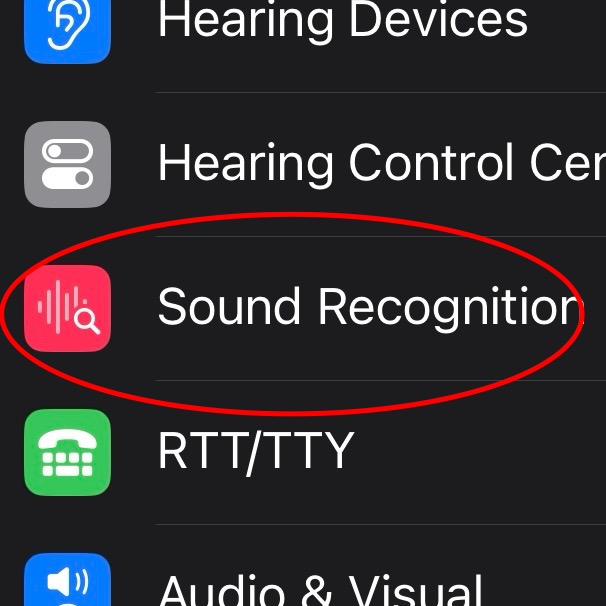
A screenshot highlighting the Sound Recognition tab on an iPhone with a red circle, indicating where to access Sound Recognition settings.
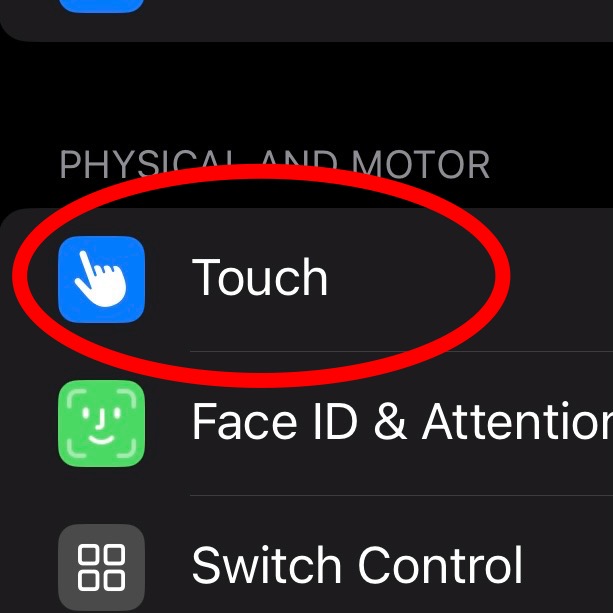
A screenshot highlighting the Touch tab on an iPhone with a red circle, indicating where to access Touch settings.
Go to Settings > Accessibility > Sound Recognition.
Turn on the Sound Recognition toggle.
Tap on Sounds and choose the sounds you want your iPhone to recognize and alert you about.
AssistiveTouch is an accessibility feature that helps users with limited dexterity control their iPhone using on-screen touch options. It provides a virtual home button and shortcuts for various functions.
Why is it important?
Compared to other features like Voice Control, AssistiveTouch provides a direct solution for physical accessibility, which can be a more immediate need for seniors with dexterity challenges.
How to set it up?
A screenshot showing the main screen of the Settings app on an iPhone, providing access to various device settings.
A screenshot highlighting the Accessibility tab in iPhone settings with a red circle, showing where to access various accessibility features.
A screenshot of the AssistiveTouch settings on an iPhone, with an arrow pointing to the On/Off toggle to enable the feature.
Go to Settings > Accessibility > Touch > AssistiveTouch.
Turn on the AssistiveTouch toggle.
Customize the top-level menu to include the shortcuts you need, such as Home, Notification Center, Control Center, and more.
Emergency SOS allows you to quickly call emergency services, and Medical ID provides important health information to first responders.
Why is it important?
In an emergency, quick access to medical information and the ability to call for help can be lifesaving. Setting up these features ensures seniors are prepared for emergencies.
How to set it up?
A screenshot showing the main screen of the Settings app on an iPhone, providing access to various device settings.
A screenshot highlighting the Emergency SOS tab on an iPhone with a red circle, indicating where to access Emergency SOS settings.
A screenshot of the Emergency SOS settings on an iPhone, with a red arrow pointing to the toggle button to enable the feature.
Emergency SOS:
Go to Settings > Emergency SOS.
Turn on Call with Side Button and Auto Call if desired.
Follow the instructions to set up your emergency contacts.
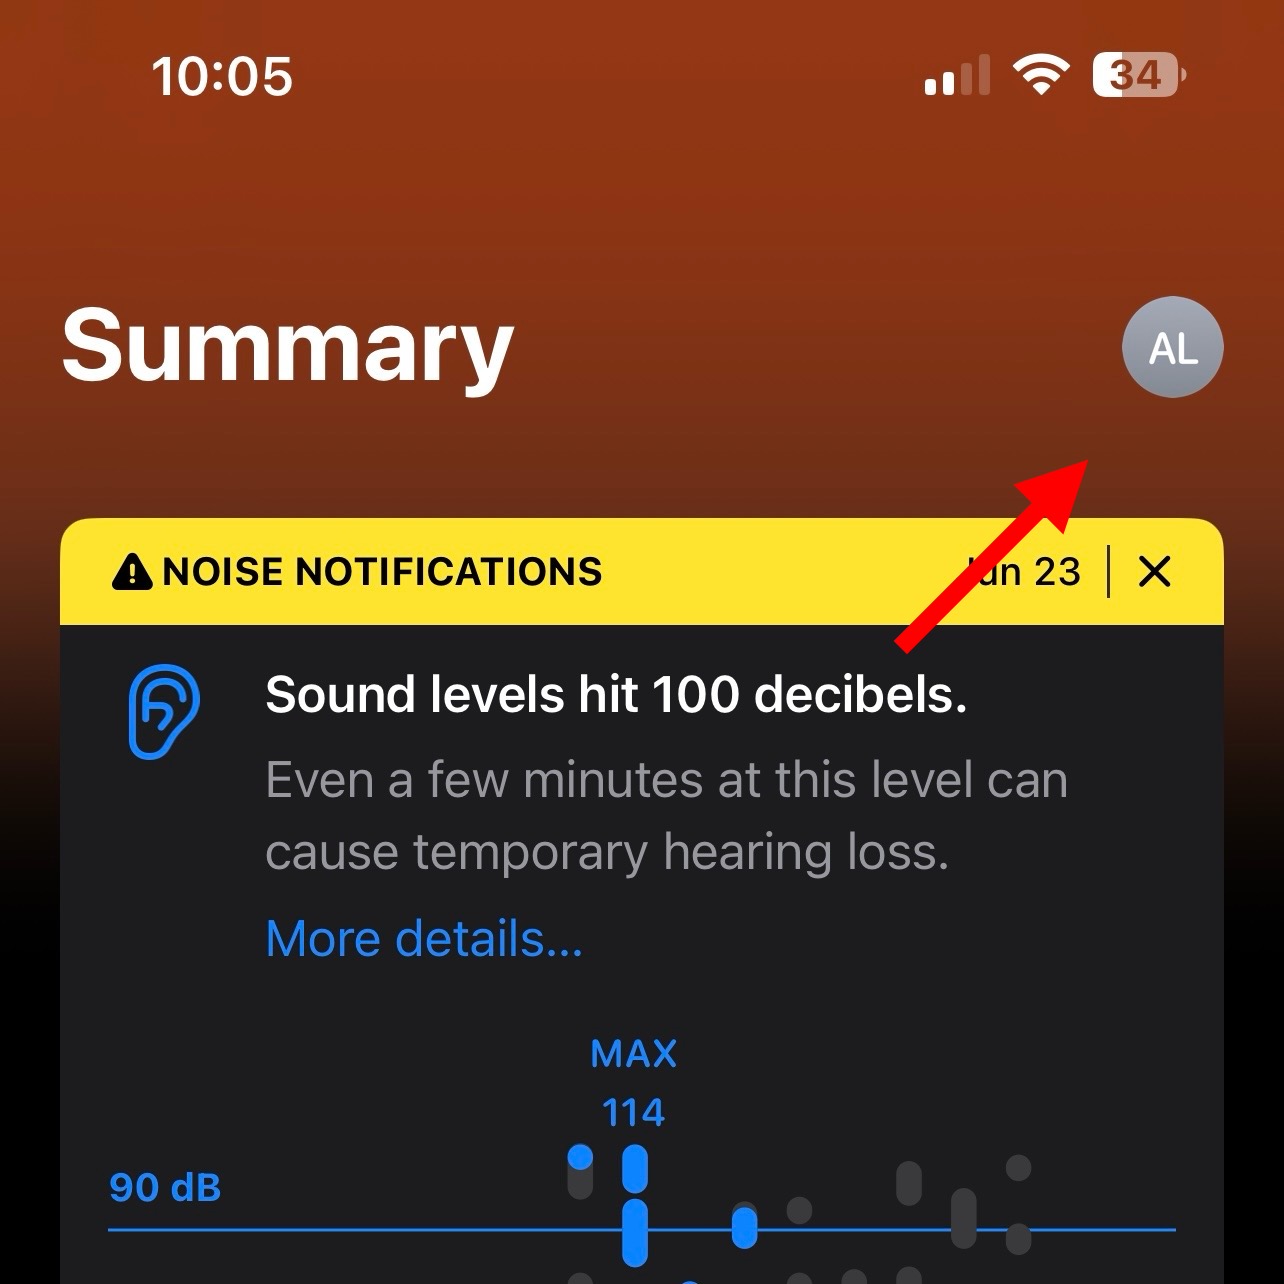
A picture of an iPhone screen showing the Health app interface, highlighting various health tracking features.
A screenshot of the Health app on an iPhone, with a red arrow pointing to the profile icon, showing users where to tap to access their profile.
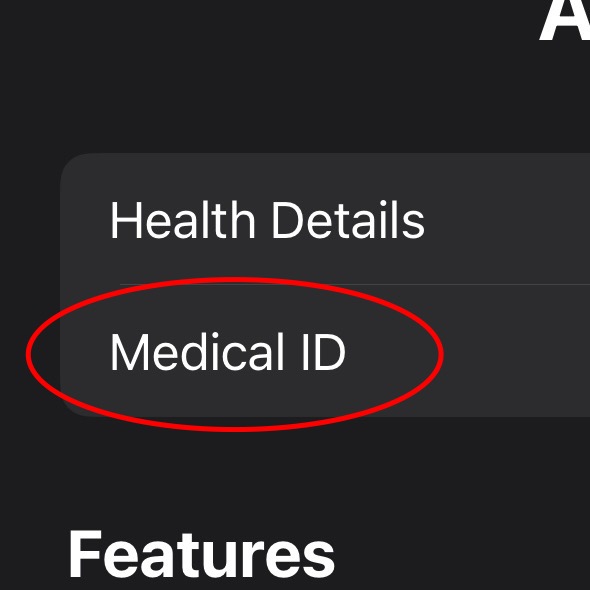
A screenshot highlighting the Medical ID tab on an iPhone with a red circle, showing where to tap to access Medical ID settings.
A screenshot of the Medical ID setup on an iPhone, showing arrows pointing to each field that needs to be filled out for emergency information.
A screenshot showing an arrow pointing to the top right corner of an iPhone, demonstrating where to swipe down to open the Control Center
Medical ID:
Open the Health app.
Tap on your profile picture in the top right corner.
Tap Medical ID > Edit.
Enter your medical information and emergency contacts.
Turn on Show When Locked to make your Medical ID accessible from the lock screen.
Check out Apple’s Emergency SOS guide here and Medical ID guide here.
Conclusion
Accessibility settings on the iPhone play a crucial role in enhancing the user experience for seniors. From improving readability and providing tools for daily tasks to ensuring safety and aiding those with physical challenges, these settings make the iPhone more user-friendly and accommodating.